I absolutely love invisible zippers. I love putting them in, zipping them up and admiring them in the mirror. They are my fave. However, I know they can be intimidating, and most sewing machines don't come with an invisible zipper foot. I survived for many years without one, and I only purchased one last weekend. But it's entirely possible to sew a great invisible zipper application WITHOUT having a special foot. All you need is a regular zipper foot.
Ready to go?
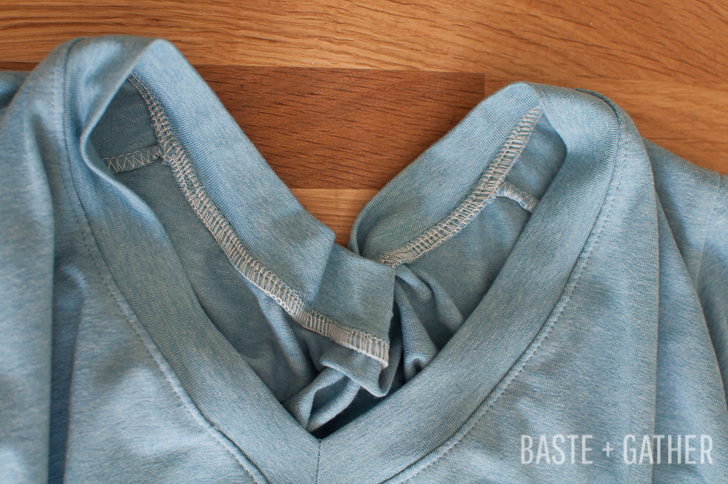
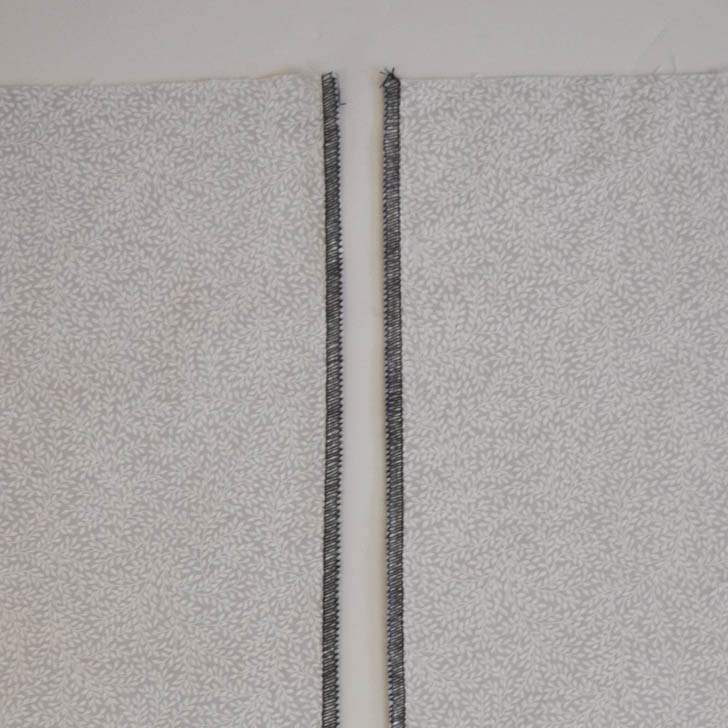
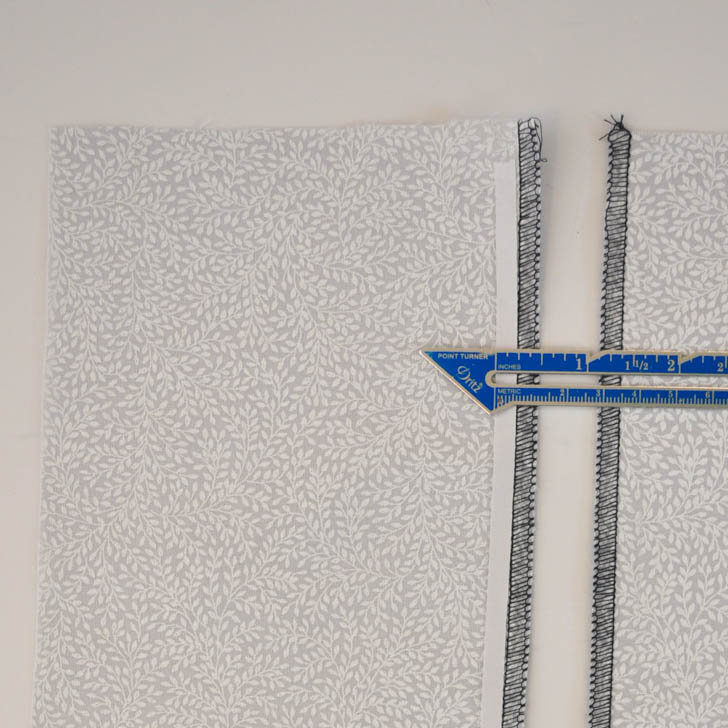
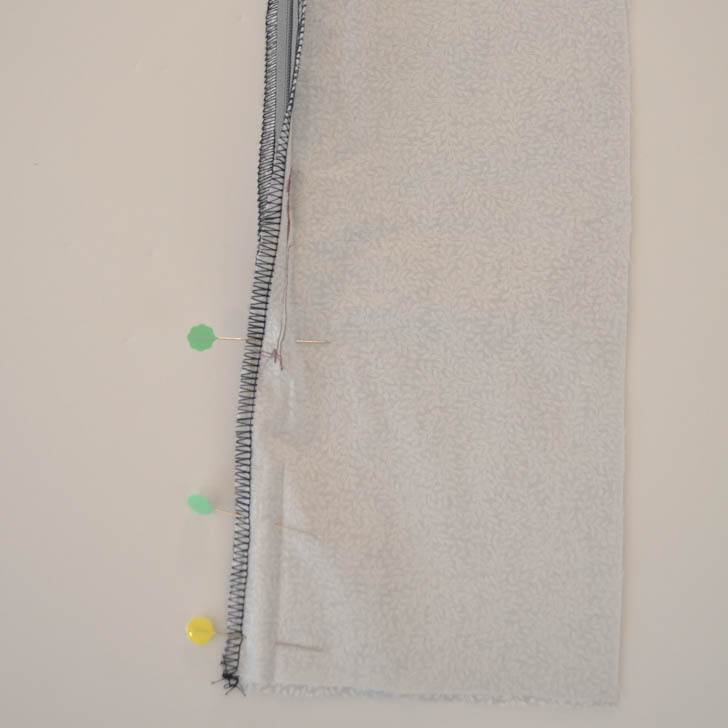
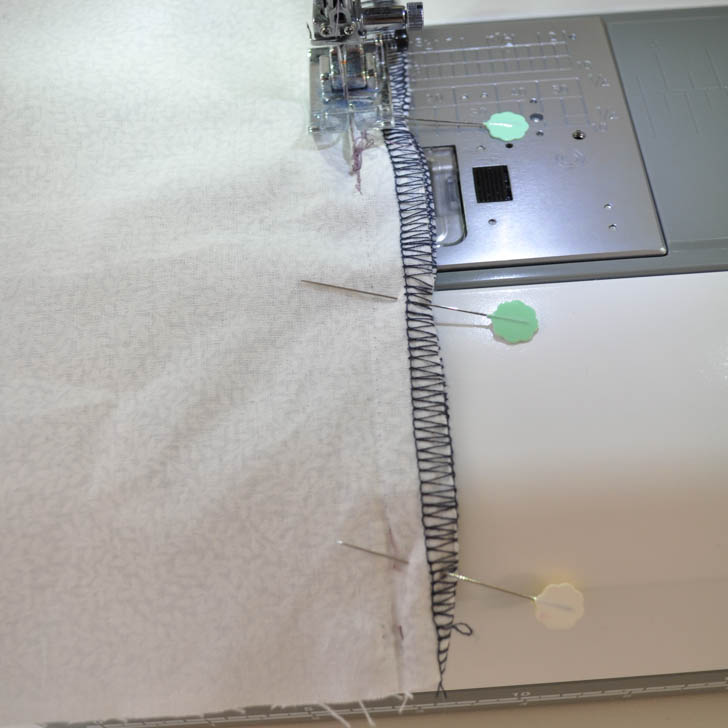
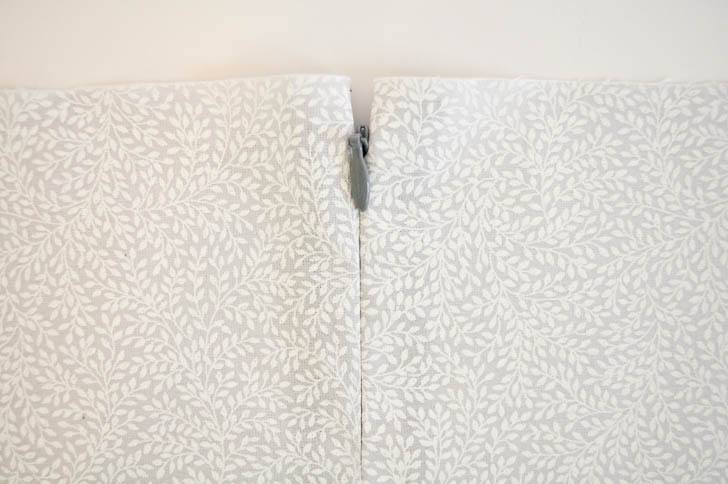
First, finish the edges where the invisible zipper will be applied. This is likely a center-back seam or side seam. They need to be finished separately; don't sew them together before finishing.
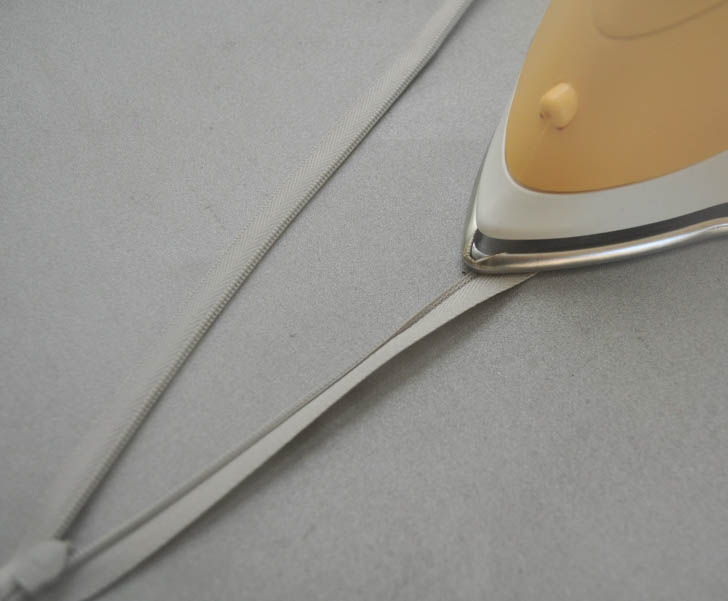
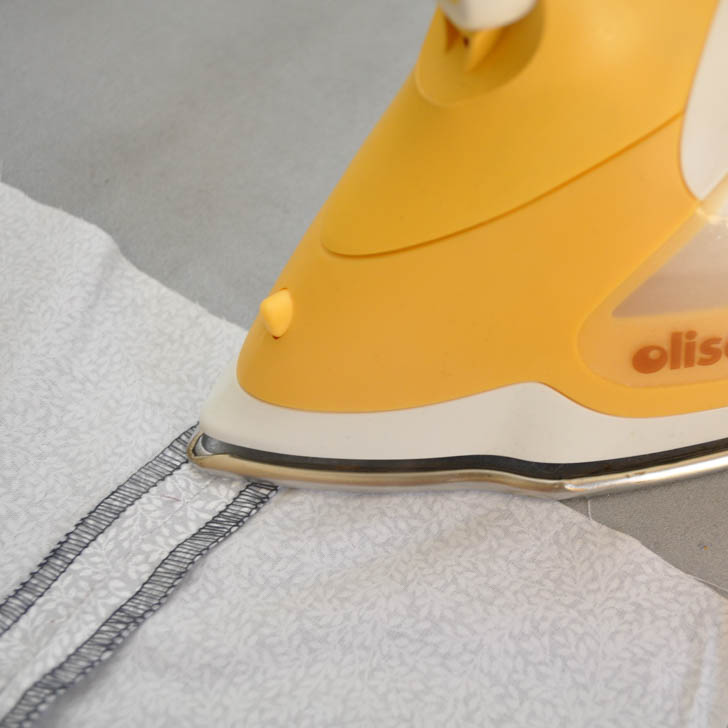
Next, I like to iron the zipper teeth away from the zipper tape so I can get in there really deep with my needle. This is optional, but I think it helps me get a much better finished product. And if you're worried about melting your zipper: don't. I use my Oliso (affiliate link) on the highest steam/heat setting and have never melted a zipper. Just don't leave it sitting on there for long.
Note: You can easily shorten an invisible zipper by sewing a few zig-zag stitches back and forth where you'd like to shorten it. Just cut off the rest above 1/2" beyond your stitching. If you find yourself at the fabric store without your pattern (or in the NYC/LA Fashion District staring at a wall of $1 invisible zippers), err on the long side. You can always shorten later!
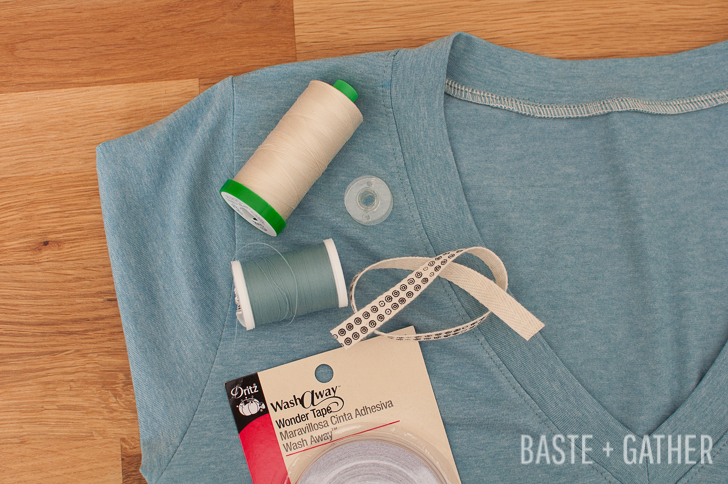
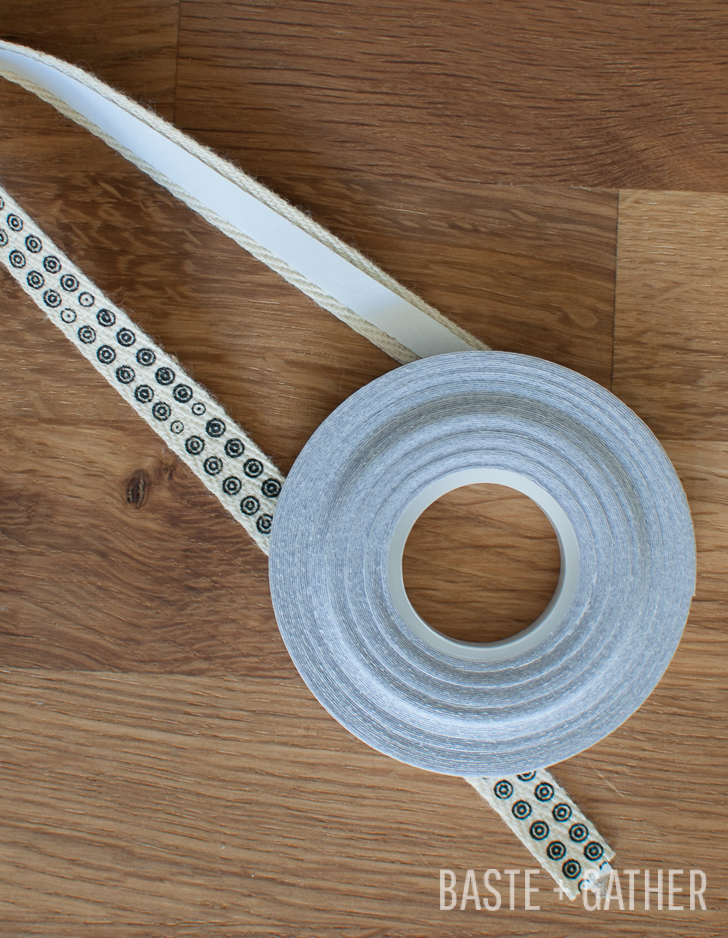
Instead of pin basting, I like to use Wash-Away Wonder Tape (affiliate link) to temporarily adhere the zipper to the fabric. Just put a strip of it along the RIGHT side of one side of the garment where you are applying the zipper. Measure with a seam gauge or ruler to be sure it's positioned at the seam allowance. I've used a 1/2" seam allowance here.
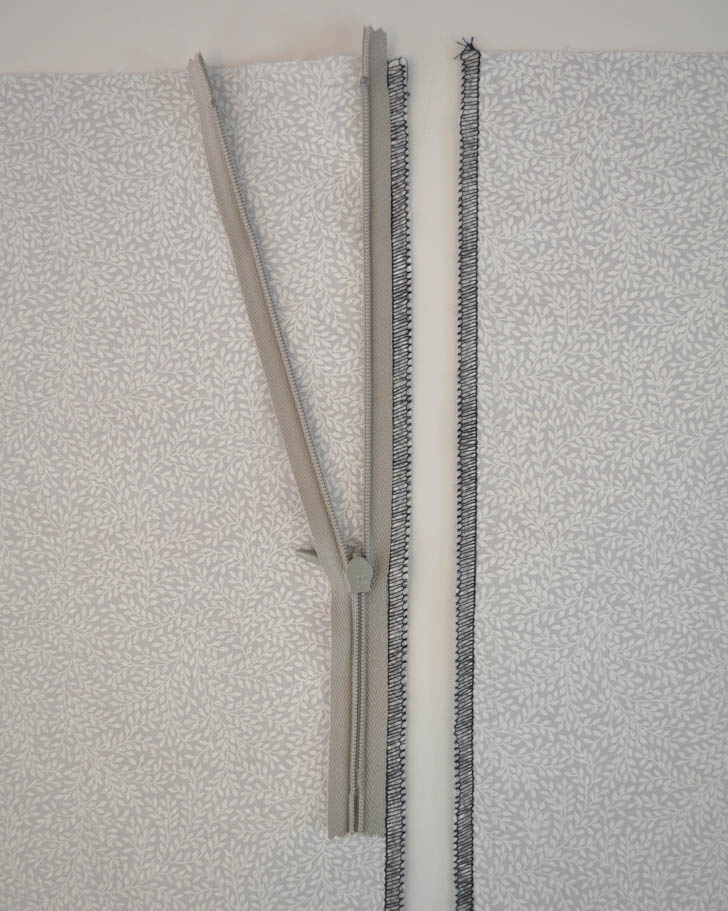
With the zipper facing down and open, adhere it to the right side of one side of the spot where the zipper is being applied. At some point, you will need to move the zipper pull up to make sure the entire zipper tape is flush with your seam allowance. Measure again to be sure the zipper teeth are exactly the seam allowance distance away from the serged/finished edge.
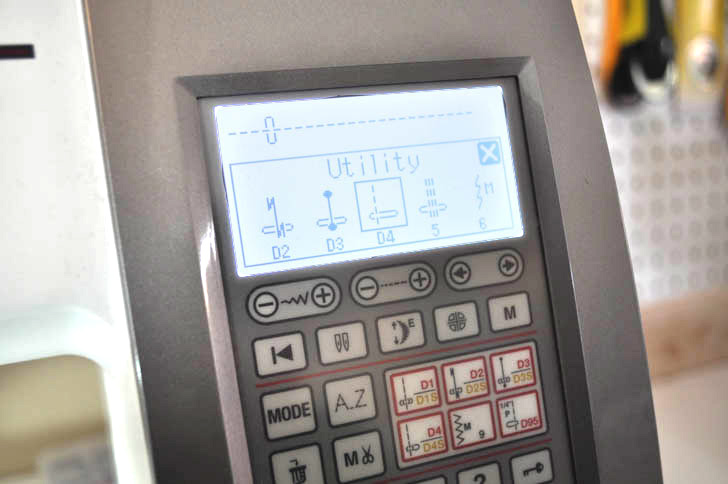
Now, you'll attach your regular zipper foot to your sewing machine.

Change your stitch to one that is set to the side, like this:
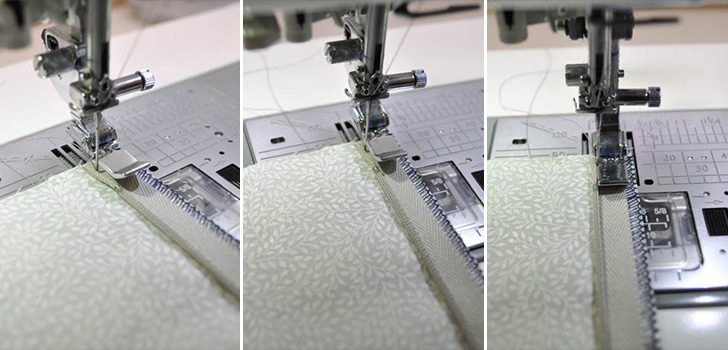
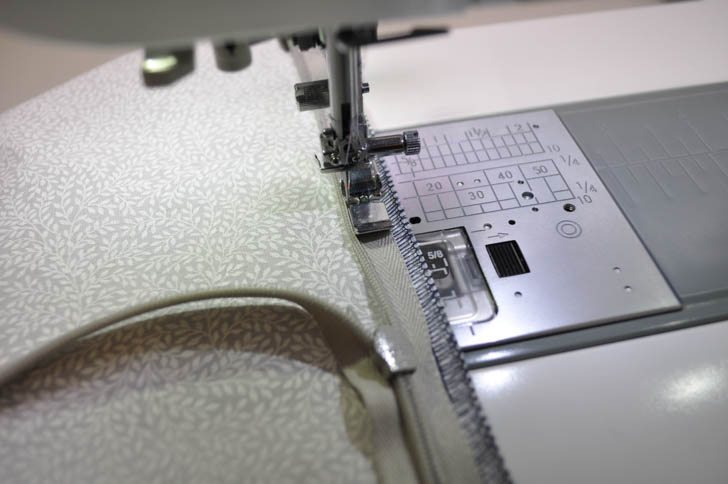
Starting at the top of the zipper, lower the needle and presser foot so that the needle is as close to the zipper teeth as possible. You really want to get it as deep in there as you can without sewing over the zipper teeth! Here are three angles to show you how close you want it should be:
VERY slowly and carefully sew as close to the teeth as you can. Your fingers will probably be dangerously close to the needle, so take special caution! When you get close to the zipper pull, stop, raise the presser foot, and pull the zipper pull out of the way. This can be easier said than done since the needle is SO close to the zipper teeth; in that case, simply raise the needle AND the presser foot, move the zipper pull, and start again with a couple backstitches to be sure there's no space between your ending and starting stitches.
Avoid pulling the fabric to the side like the image below as it can have the opposite effect of what you want. It can actually lever the fabric away from the needle when the needle goes up between stitches.

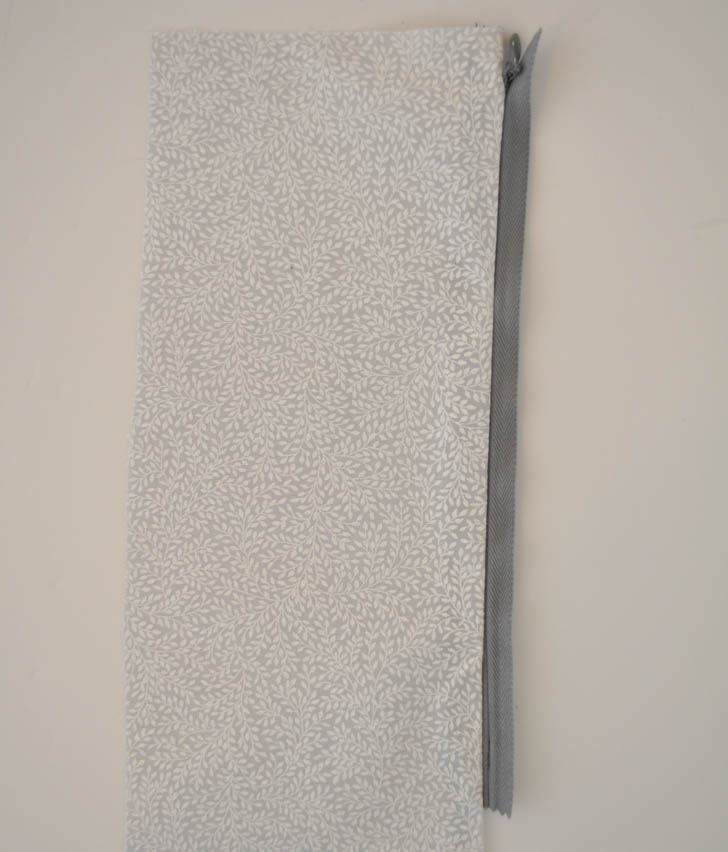
Once you're done with that side, check your work by pressing the fabric away from the zipper. You'll notice below that I wasn't quite close enough to the zipper tape at the very bottom of this application. This is an easy fix; you can simply go back over the stitching and try to get a little closer.
Next, adhere the other side of the zipper to the remaining side of the garment as you did before.
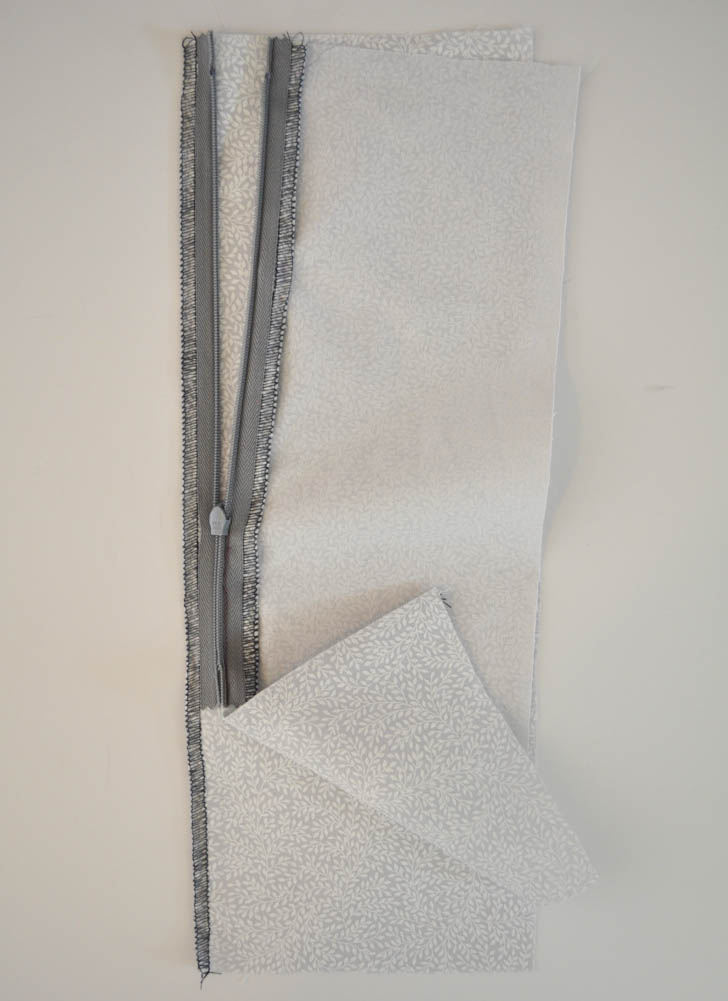
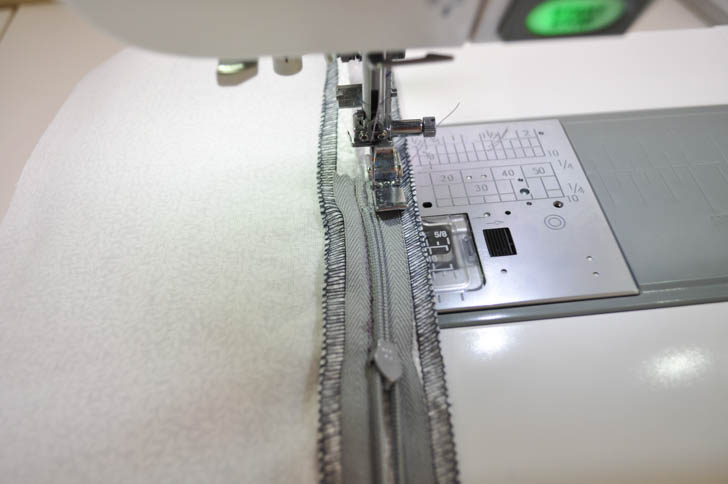
If your sewing machine will only offset the needle to one side, you will now start at the bottom of the zipper to sew the other side. If you can change the needle to the other side of the presser foot, you can start at the top like you did for the first side. Here, I've started at the bottom. Using the Wash-Away Wonder Tape (affiliate link) makes this acceptable whereas pins aren't as accurate and could cause you to have an uneven zipper.
Once you've sewn both sides of the zipper to the two sides of the garment, pin the remainder of the back or side seam together with right sides together. Hopefully your stitching will look neater than mine! Murphy's Law dictates that even though I have done these many, many times, the ONE time I photograph it for the blog, it will look like a hot mess!
Starting about 1/2" above the zipper stop and right on (or a hair outside - away from the serged/finished edge) the existing stitch line, sew a few backstitches to reinforce, and stitch down the remainder of the seam. It really is that simple!
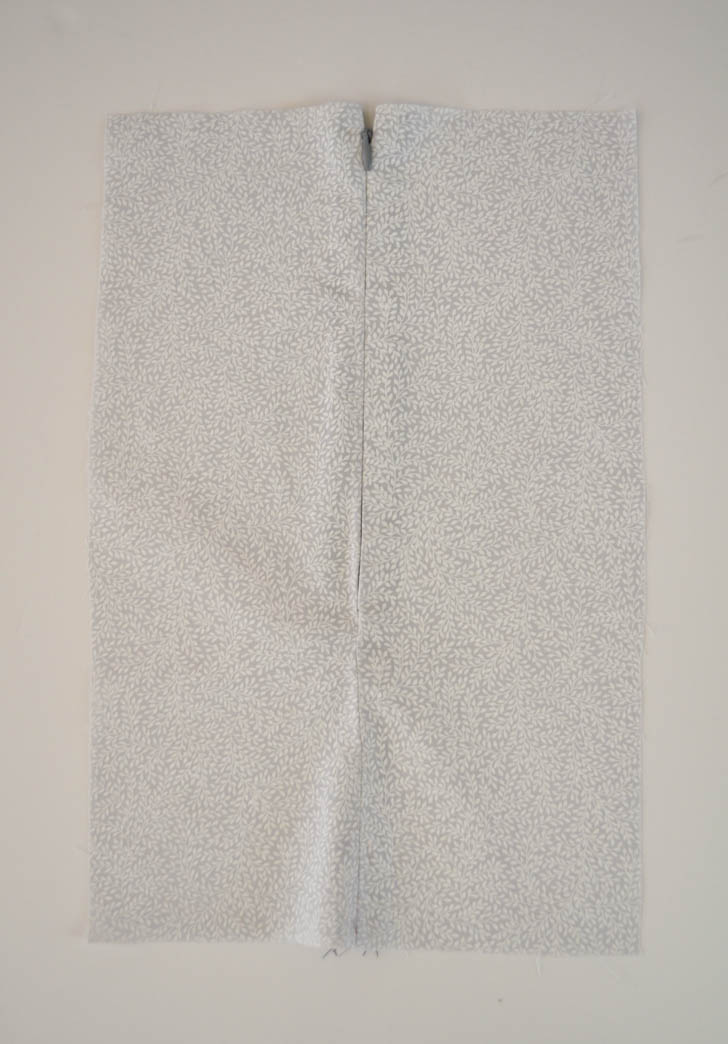
Press the seam open...
And you're done!
That wasn't so bad, was it?
Even though I've been sewing invisible zippers like this for a while with success, I'm anxious to try my new invisible zipper foot. I'll report back when I see if it makes a huge difference!
How about you? Do you use an invisible zipper foot or a regular zipper foot for invisible zippers? Do zipper scare the **** out of you like they once scared me?
 (affiliate link) on the tail to make sure it doesn't make its way out in the wash.
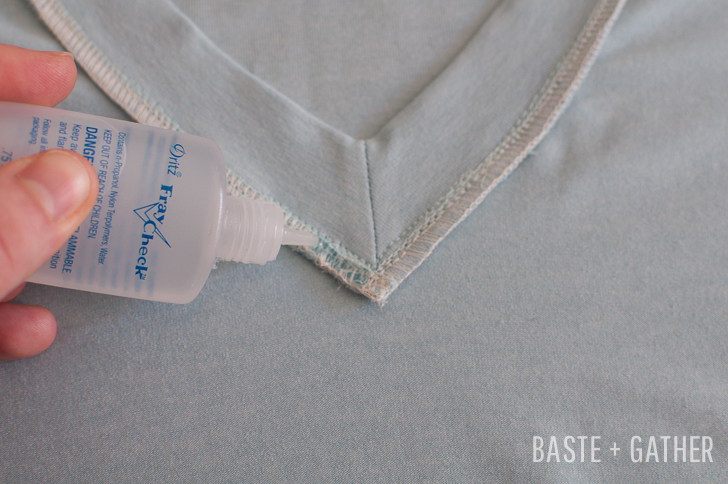
 . It's so wonderful for pressing curved seams around necklines, armholes and rounded hems. You know how annoying it can be to press a curve around the end of your ironing board? The pressing ham solves that. It's good for pressing your ready-to-wear garments, too.
 . I wasn't quite sure what this was for when I bought it, but I got it on sale and figured it couldn't hurt. Well, it's genius! It allows you to press sleeves and other tube-like parts of your garment without putting unsightly creases along the edges.
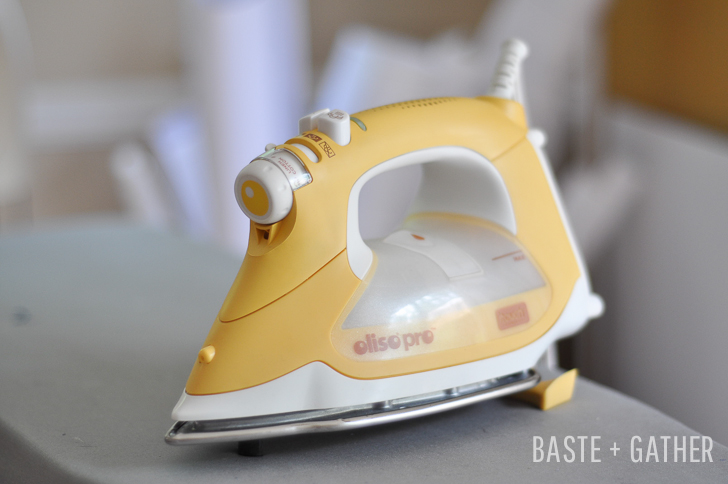
 and its corresponding
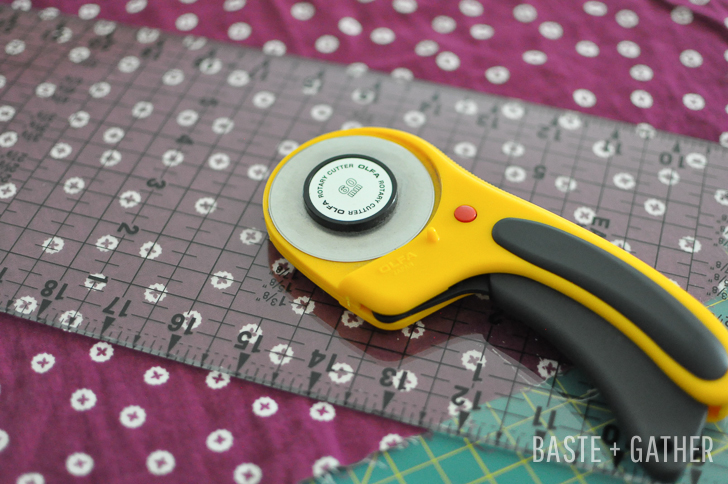
  are in constant use on both quilty-type things as well as garments. I know a lot of garment sewists use these on knits, but I don't discriminate. I like cutting both woven and knit fabrics with my rotary cutter. It's also a must for cutting long, straight lines for things like bias tape.
 (thanks, Gale!), and I have never looked back. It's the perfect size to cut most garment pieces with aforementioned rotary cutter. They are a little pricey but SO worth it. I use it in conjunction with my smaller one to give me a nice, large cutting surface.
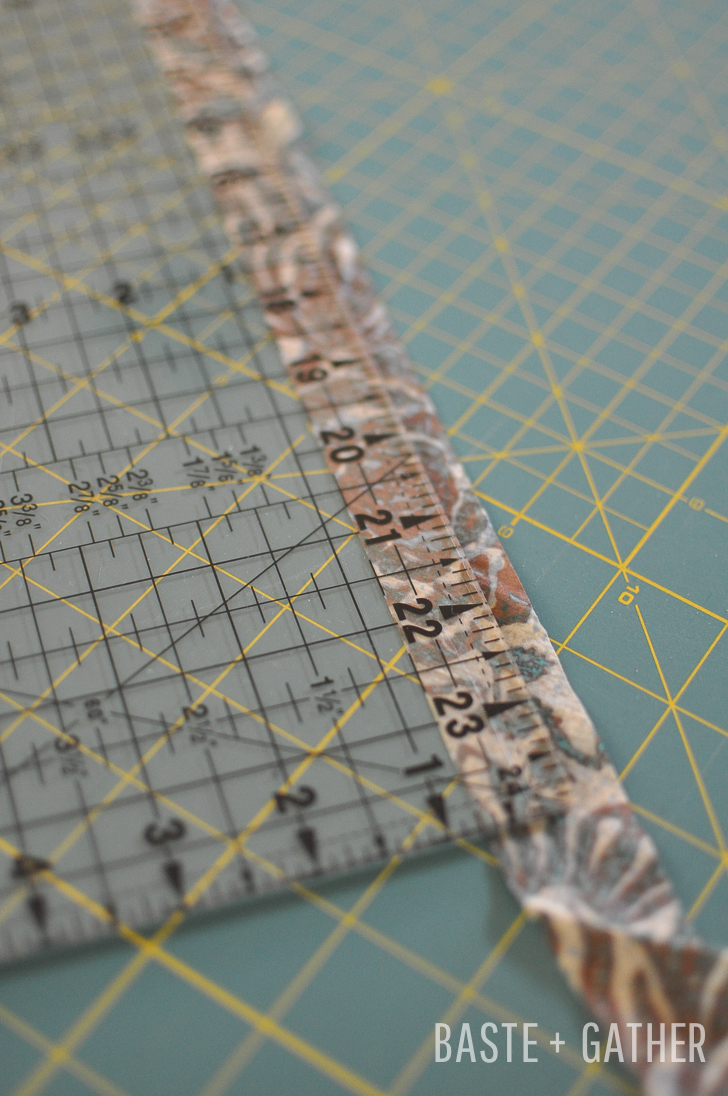
 . I use this to help me cut straight lines with my rotary cutter and cutting mat. And you can measure with it! Imagine that.
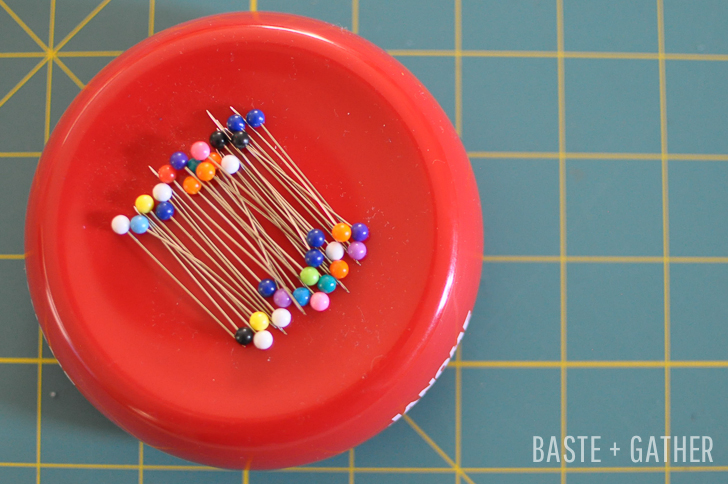
 , you are truly missing out on life. With a fabric pincushion, there is some skill required to actually get the pin in the proper place when you pull it out of the fabric. But with a magnetic one, you basically throw the pin in the general direction of the thing, and it magically ends up where it's supposed to go. This is especially useful when serging a long hem and quickly pulling out pins as you go (hopefully, anyway). Nobody wants to stop and look for the pincushion every time they pull out a pin. Just throw and go.

 does the job. It's also faster, but I am stubborn and like my little safety pin. Doh.
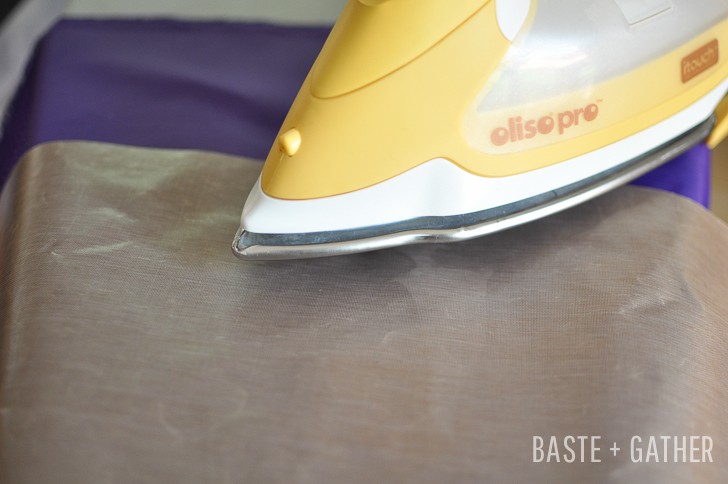
 has come in handy for ironing all kinds of delicate and/or meltable materials. I used it on my
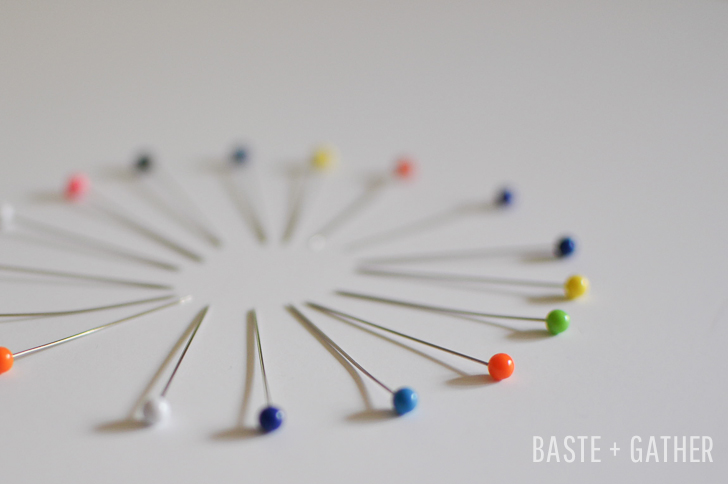
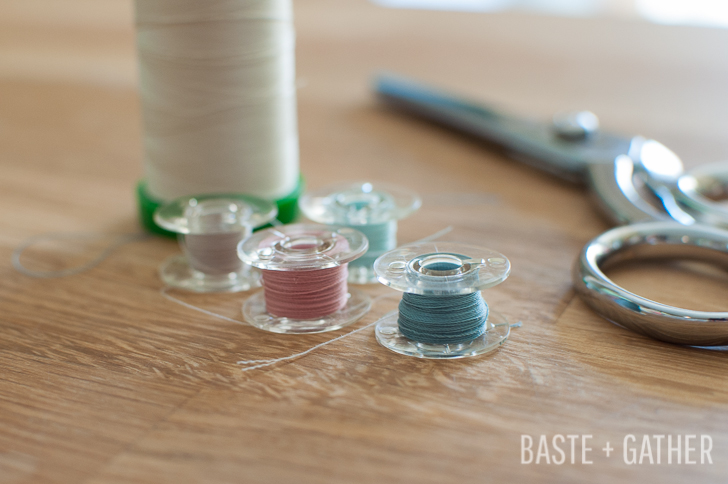
 are the bee's knees. These colorful ones were given to me by my sewing machine sponsor, Janome (Oh yes, and the magnetic pincushion, too. I totally lied when I said I bought all these items!), but the linked ones above are very similar.
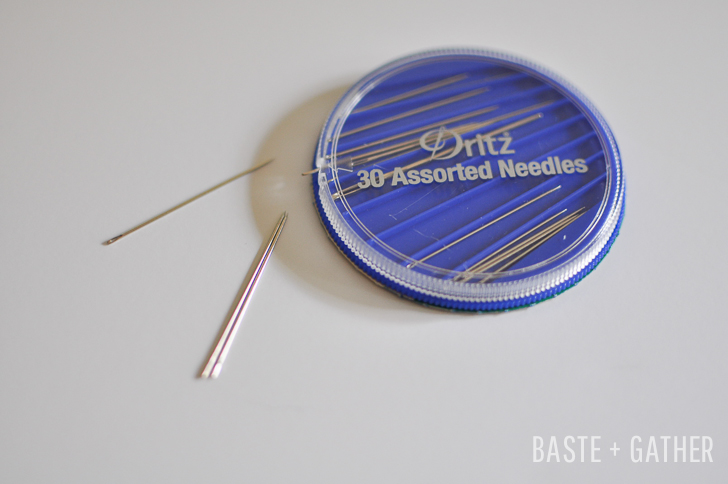
 , and I really hope someone buys me a
  someday, but until then, I will use my standard-issue
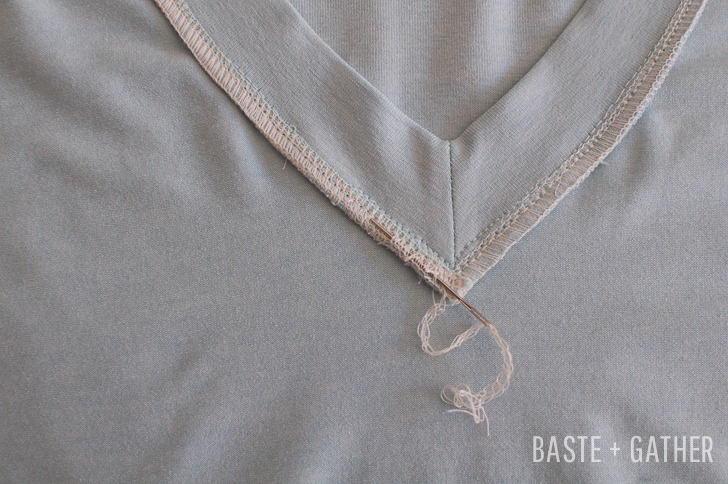
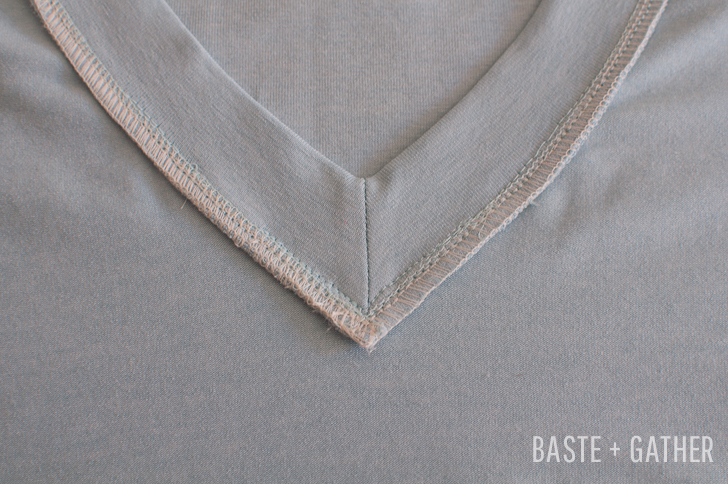
  for various tasks like...duh...hand sewing. I also like to keep the really large-eyed ones around for pulling thread tails to the back of the garment after double-needle stitching or cover stitching. You can use them to pull serger tails through the previous stitches to finish serged edges as well.
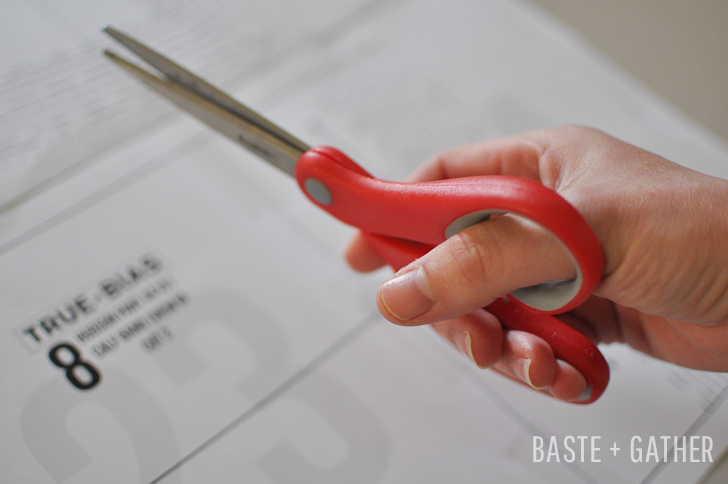
 are a basic and good option for trimming those PDF patterns and more.
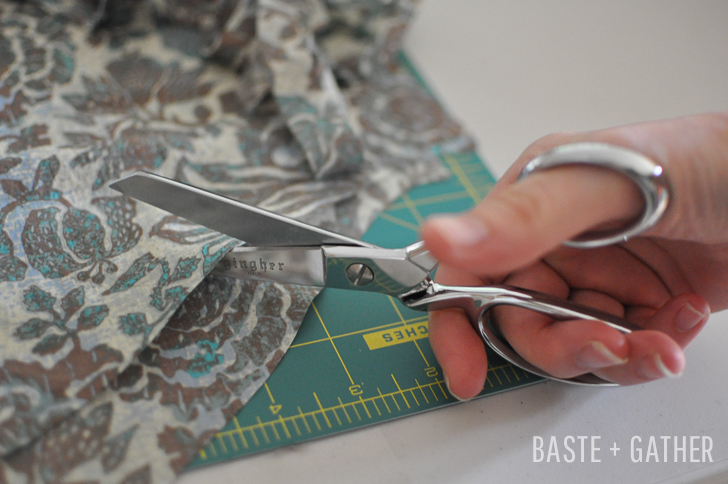
 ever since I used my grandmother's as a child. I've also tried the whopper 10" ones, but the 8" ones feel perfect in my hand. It's imperative that you have scissors with a very sharp point for cutting fabric since you sometimes need a very precise point. My home economics teacher always said to "never put the point farther than you want to cut." I tell my sewing students that same thing because it's SO true. Blunt-tip scissors are no good for sewing. Trust me.
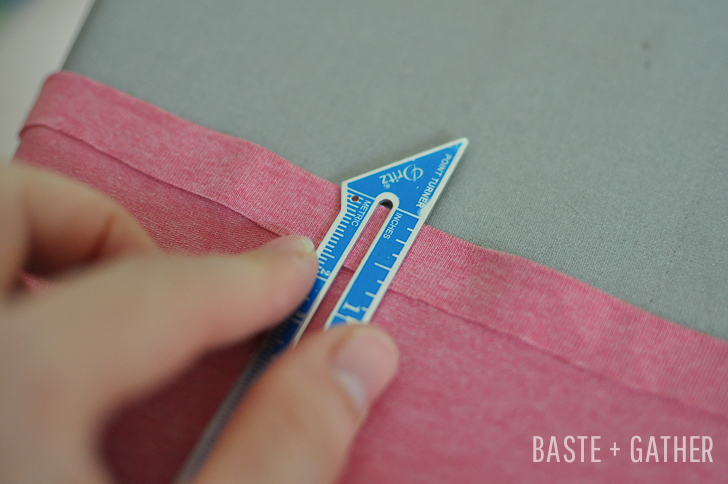
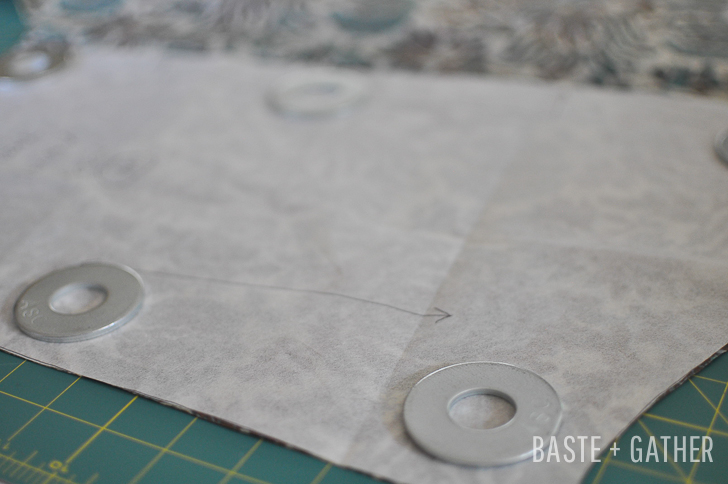
 are very similar to what I use, and a 25-pack is perfect for your typical pattern. They're much less expensive than actual pattern weights, so bonus points for that.
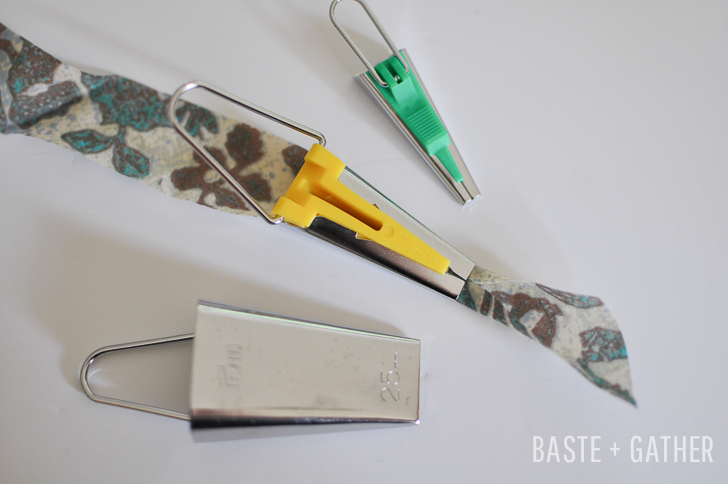
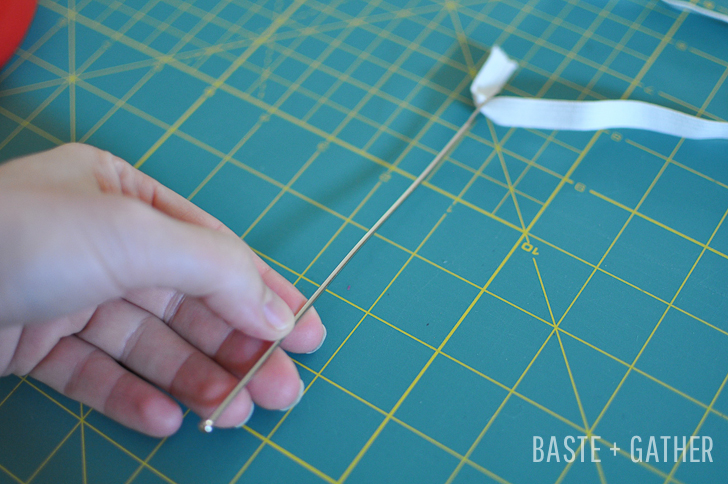
 the most for garment sewing. The larger one pictured above is great for quilt binding, but I don't have a use for it otherwise. If you've ever made your own bias tape, you know that it's SO MUCH BETTER than the store-bought stuff. Don't even go there. It's stiff polyester, and, well, it can very easily ruin a neckline or armhole. You can also make really lovely piping with these.
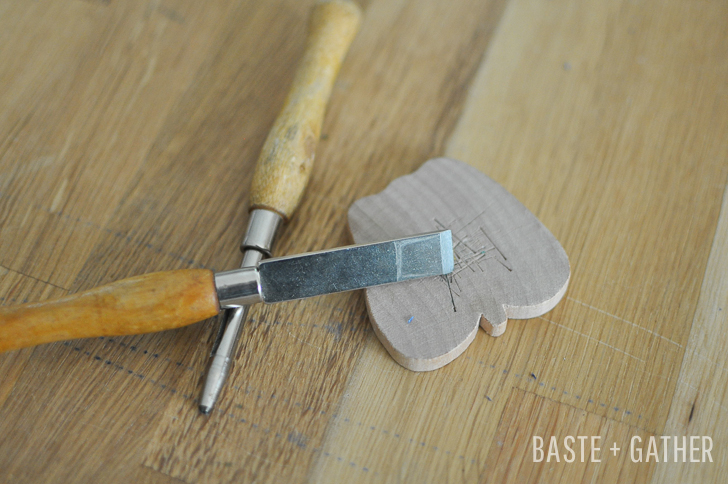
 , it helps you get a perfectly cut buttonhole that doesn't fray and look all gross like ones cut with a seam ripper. The awl is good for accurately punching the little hole at the end of keyhole buttonholes.
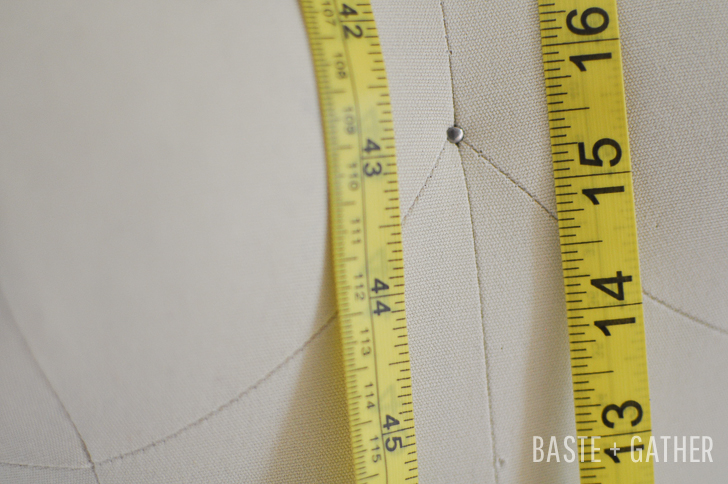
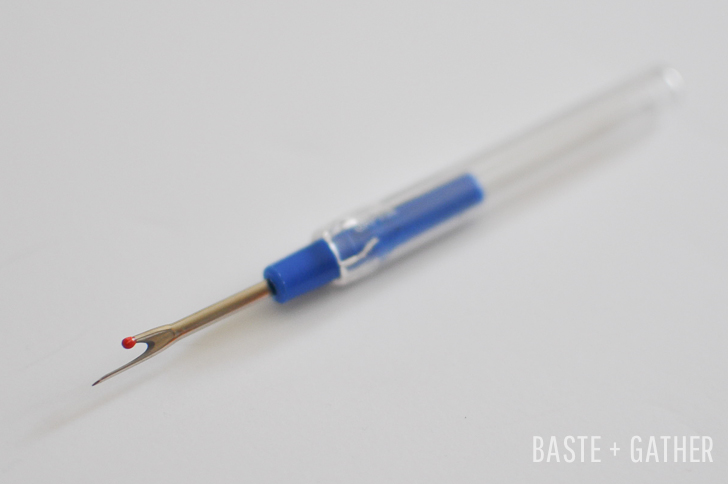
 ? I know there are more snazzy versions of these on the market, but I've never found a need for an LED-lit, automatic, battery-operated seam ripper. (But hey, I'd love to try one!) This model has always done the trick for me.