Are you ready to start sewing? Yeah?! Let's go!
Before we get going, I want to again tell you that jeans are NOT hard to sew! You got this. In fact, If I have several hours of uninterrupted sewing time (which never happens), I can theoretically make a pair of these in one sitting. Flashing back to reality, however, it takes about a week with an hour or two a night/day of work. They are easily a weekend project.
I always start with the back. I'm not sure why, but I think it's because I like seeing the fruits of my labor quickly. And since the back is pretty easy, it delivers instant gratification.
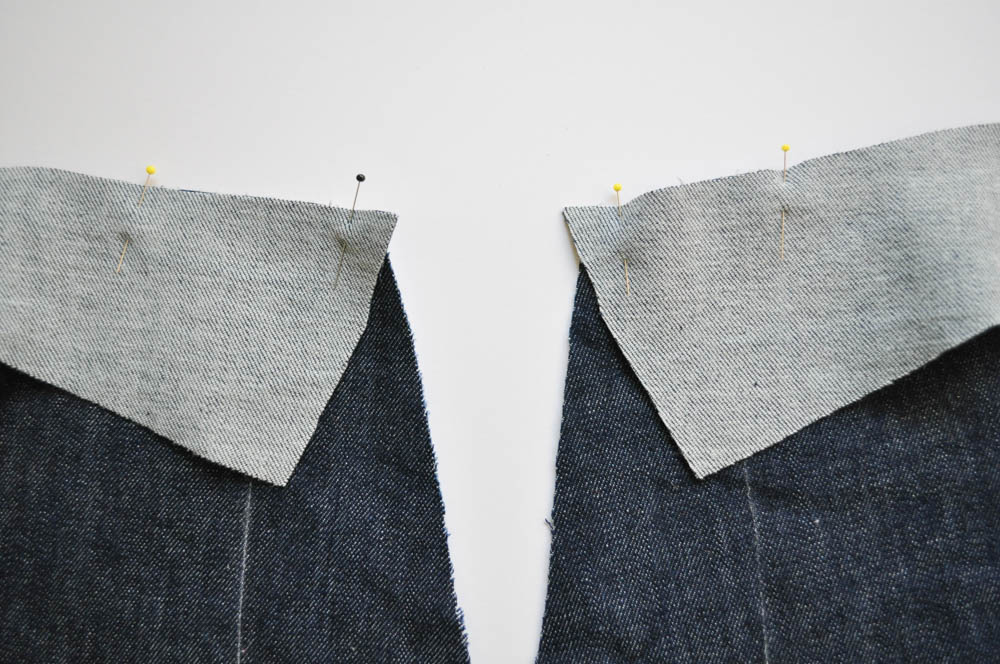
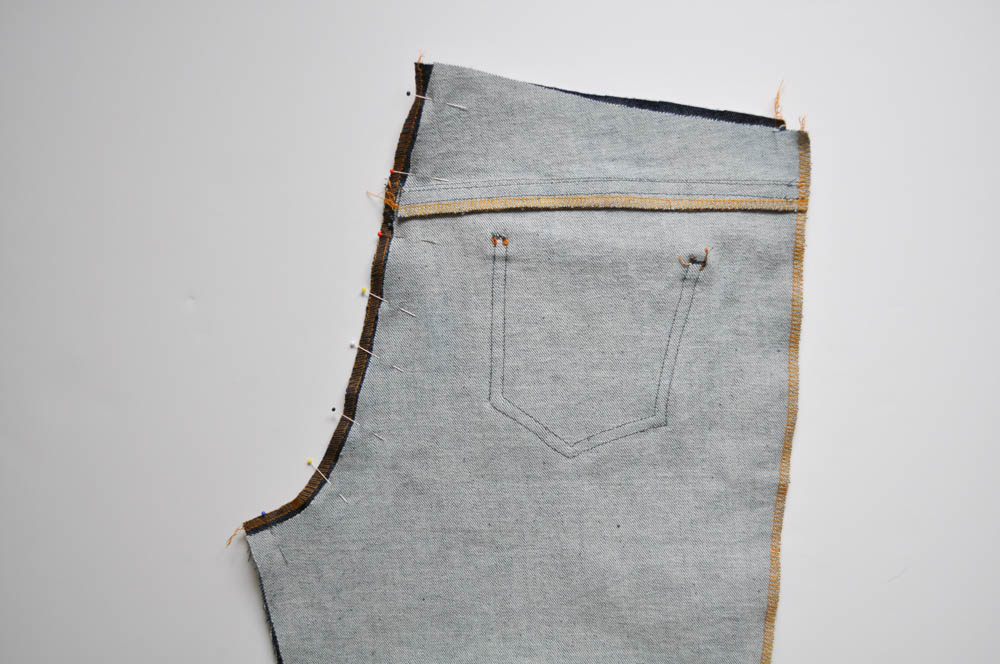
First, pin your yoke pieces to the back legs with right sides together. Match the notches and stretch the yoke slightly to fit.
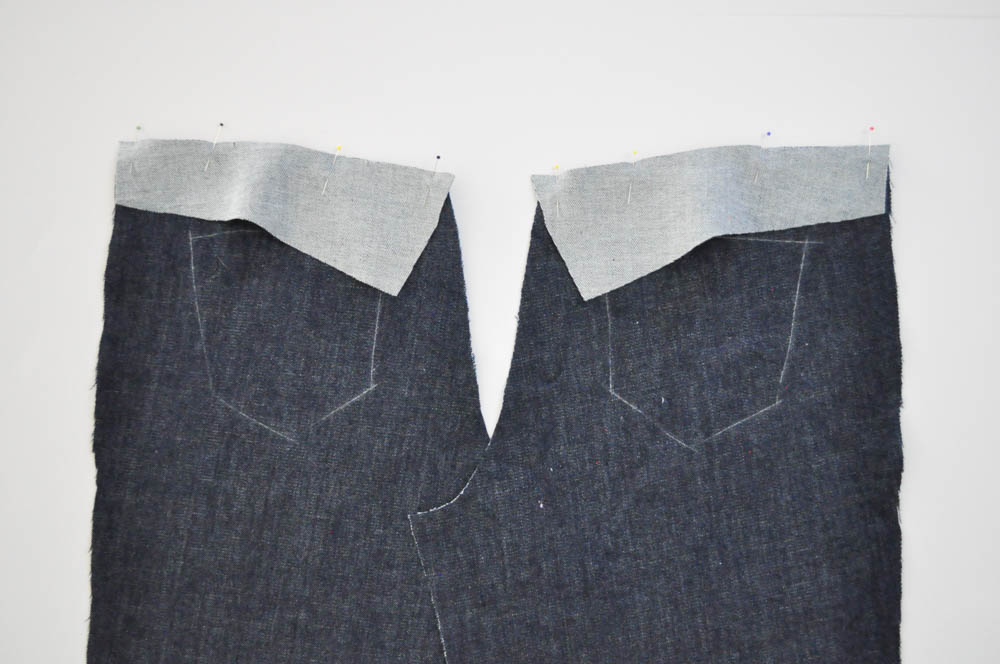
Note that the yokes will hang over the leg pieces a little at the center back (photo below). You will notice, however, that they line up perfectly where the seam will be sewn 5/8" down from the top. Once the yokes are pressed up (and seam allowances pressed down), everything will match up perfectly.
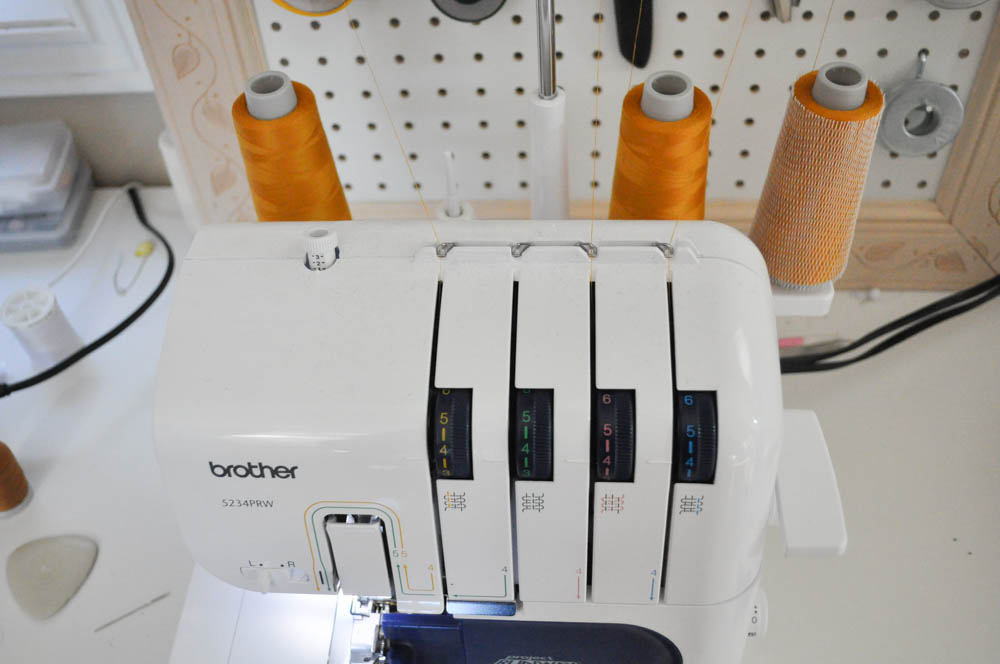
Sew that seam with a 5/8" seam allowance and using regular thread. And if you haven't already, load up your serger for a three-thread stitch. I use the classic gold thread for all my jeans sewing.
If you don't have a serger, you can also just use a zigzag stitch on your sewing machine.
Serge the seam you just sewed without trimming any of the seam allowance. In fact, you may disengage your serger's blade for the duration of the sewing process if you like. I like to leave mine engaged, however, just to trim loose threads that come unraveled during handling.
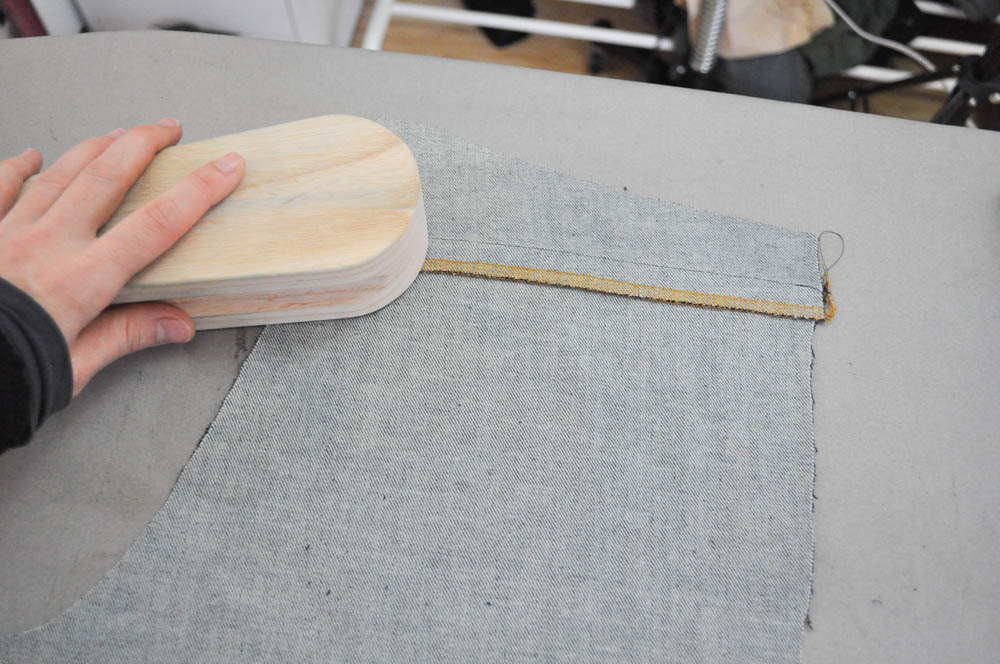
Press the seam allowance down toward the legs...(clapper used below to make seams crisp and flat)...
And switch to topstitching thread and a longer stitch length. (Always leave regular thread in the bobbin.) I like to use a 2.8 stitch length for topstitching, but you might like yours longer. I find I'm more accurate in my starting/stopping with a shorter length, and I like the more refined look. Longer stitch lengths tend to look more fashion-forward and trendy, and that's fine if that's your jam.
Stitch one line 1/8" from the seam you just sewed, and then stitch a second line 1/4" from the first. There is no need to backstitch at the beginning and end of this topstitching.
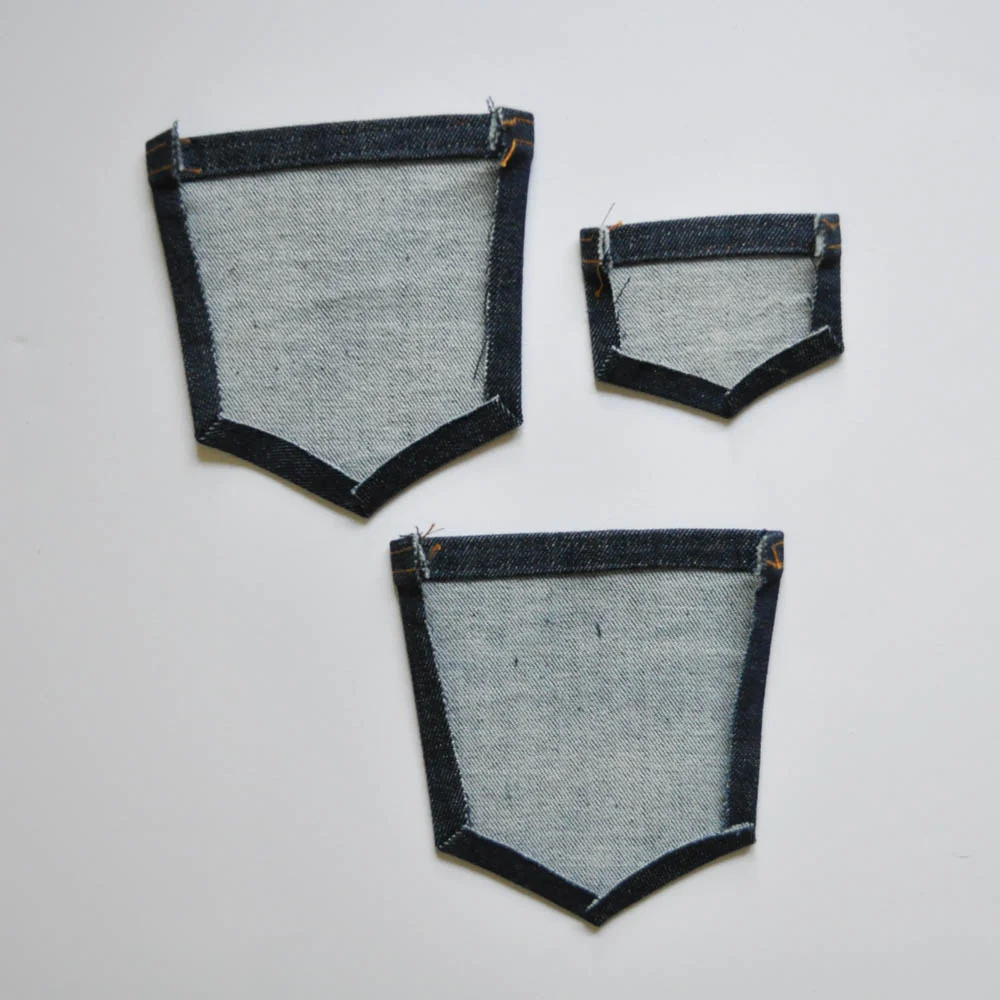
Since you already have topstitching thread in your machine, this is a great time to sew the back and coin pockets. Press down 3/8" along the top edges, twice, as shown below. A clapper will help you get these to stay in place.
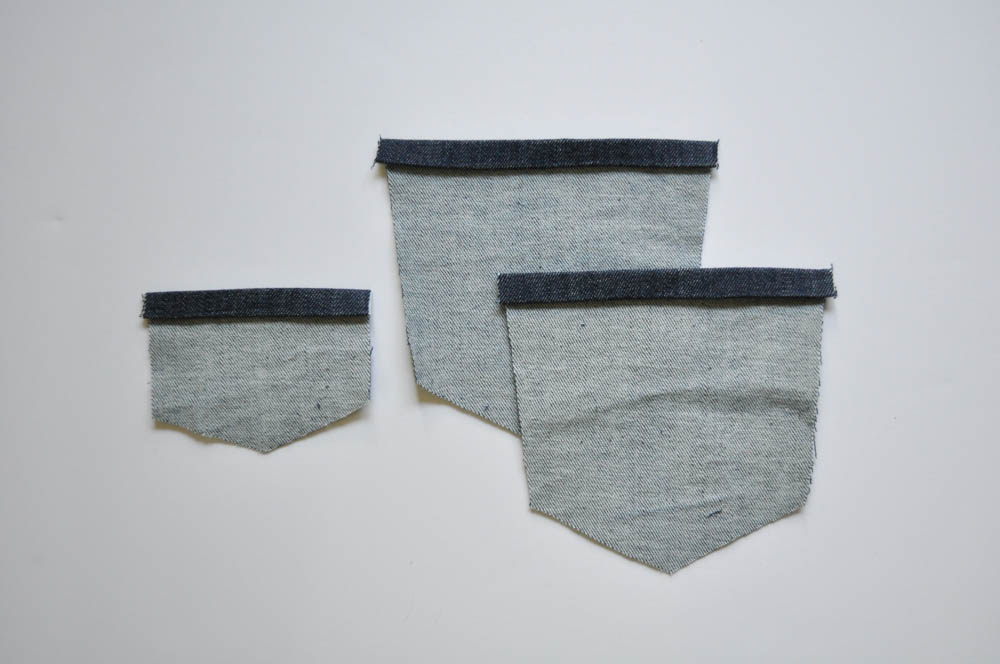
Sew two lines of topstitching - one 1/8" from the edge and a second 1/4" from the first. Be sure you are catching the hem under the second line of stitching as it will be pretty close.
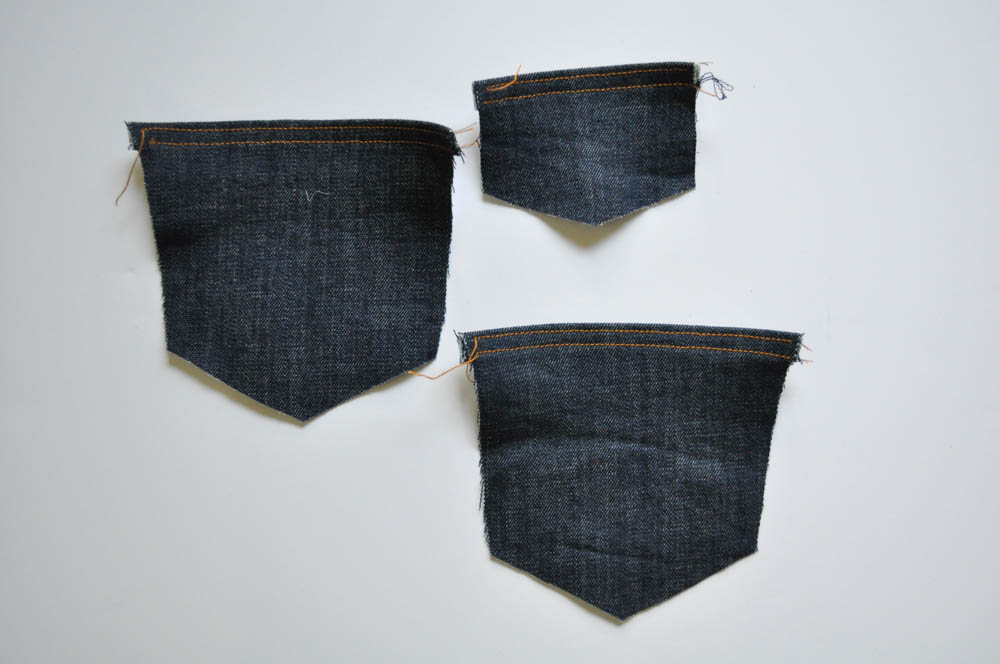
With stretch fabric, you may end up with some distortion along that upper edge after topstitching. If so, simply steam the pockets with the iron. If the corners are angling out too much, you can simply trim them off to true-up those sides.
Next, fold all the remaining side edges under 3/8" and press. Use your finger to force the raw edge down a little bit away from the top edge so it doesn't stick out in an unsightly fashion when the pockets are sewn to the jeans.
Now... I am about to tell you to pin and sew the pockets onto the back pants legs using the guides you transferred when you cut out your pattern.
HOWEVER.
I have since changed my method, and I want to share my little trick with you. Of course, you can proceed as you like, but this new method has saved me some grief since implementing it.
Now, I actually sew the two back pieces together and topstitch the center back seam BEFORE applying the pockets. In the original method (which follows), you were to shift one of the pants legs over 3/8" to give the illusion of a centered back seam. That's great, and you should still do that. However, I found that sometimes my pockets were still not perfect.
Since perfect is what we're going for here (haha, right...just you wait for my waistband topstitching), I now wait until the back is completely assembled to do a visual check on the pockets before topstitching them on. Make sense?
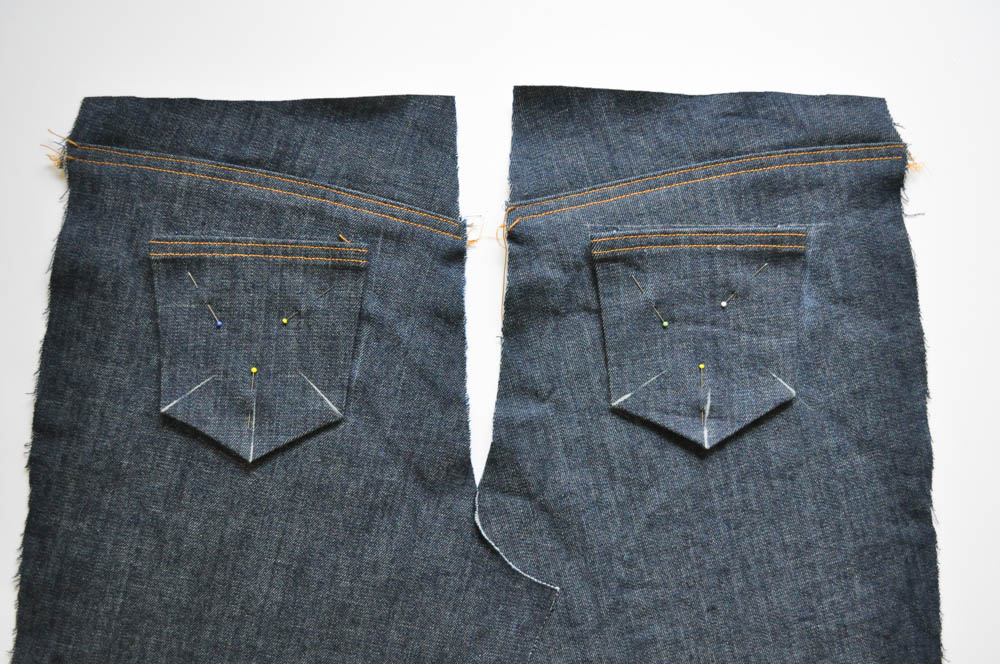
So, following the instructions as written - you will pin your pockets on using the guides you traced. I typically just use three pins pointing outward from the center to the corners. I also draw chalk lines to guide me in my topstitching so the two lines are perfectly spaced.
See the chalk lines in the corner? Life-changing. (I learned that trick in Angela Wolf's "Sewing Designer Jeans" course on Craftsy which I highly recommend! And yes, that is an affiliate link!)
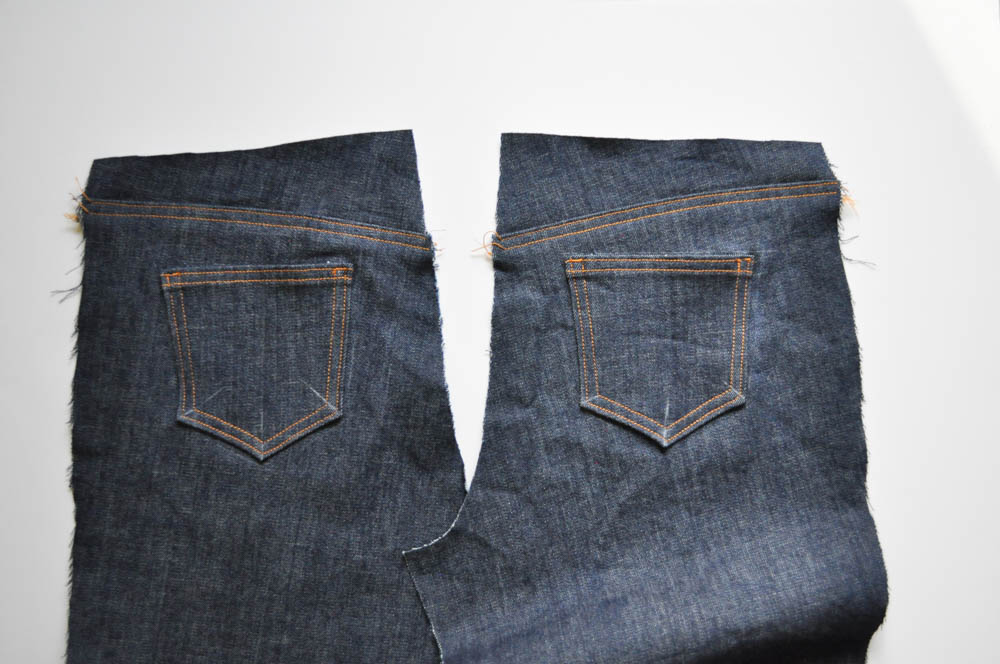
Starting at one of the pocket tops and backstitching a couple times, sew 1/8" from the edge of the pocket, and pivot at the chalk lines you just drew. Backstitch a couple stitches at the end, too.
Sew a second line 1/4" in from the one you just made, again pivoting at the chalk lines. Repeat for both pockets.
Now is the time to add a narrow bar tack to the top corners of each pocket. This is simply a narrow, closely-spaced zigzag stitch that reinforces the pocket so it doesn't pull off when you put your hands in them repeatedly. It also looks good. I find they can be challenging to sew - especially on thick denim - so make sure you hammer the corners from the inside of the jeans to flatten them out a bit. (You hammer from the inside to avoid damaging the outside of your jeans.)
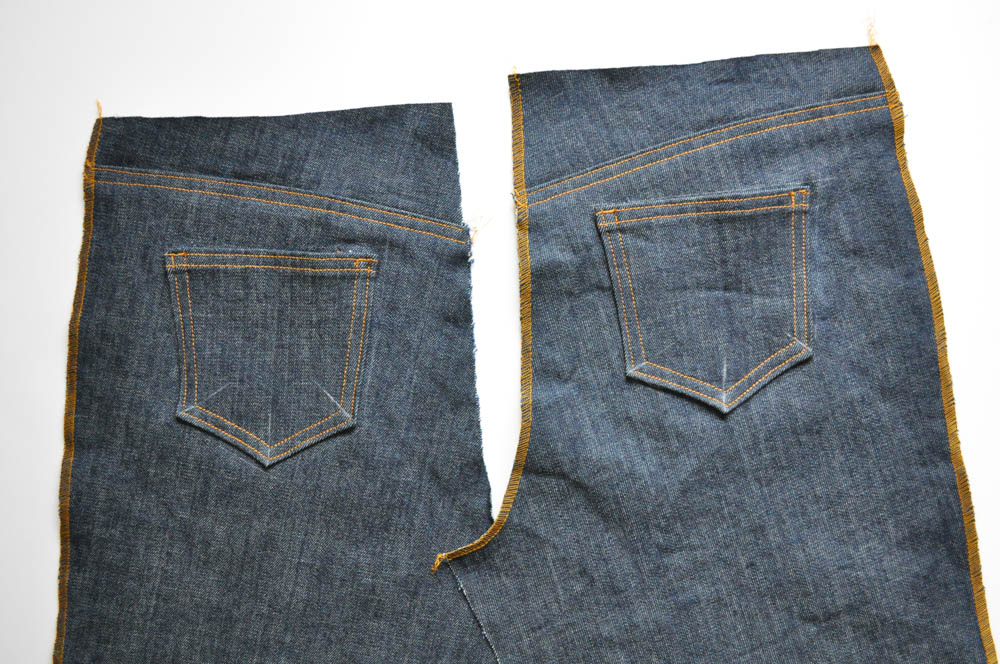
Next, serge the crotch of ONLY the wearer's right back leg as shown in the image below. Also, go ahead and serge the outseam edges of both back leg pieces.
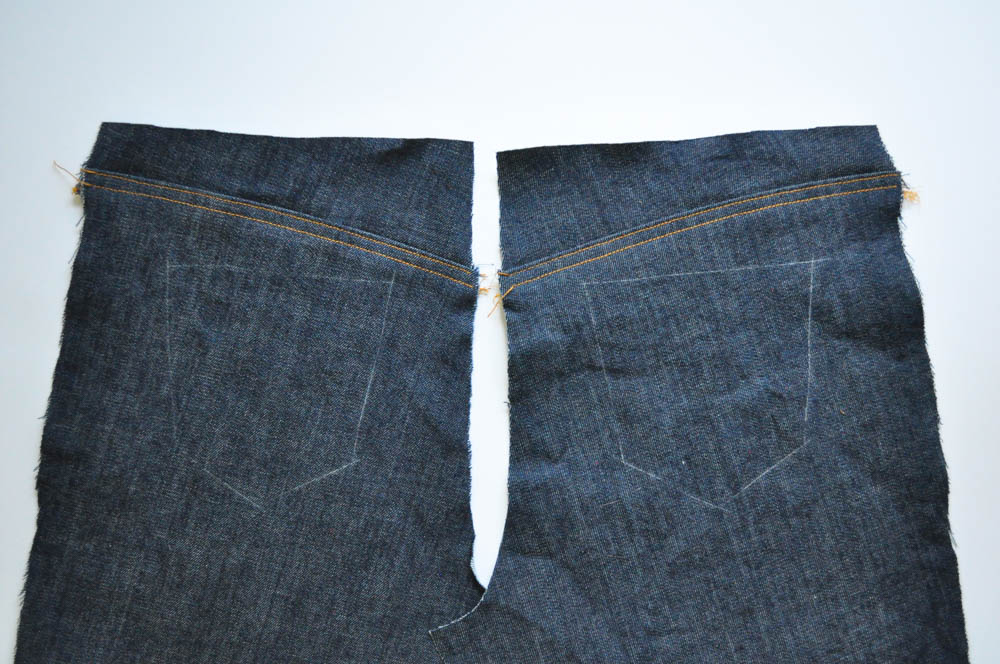
Now you are going to give me the side eye on this next step - I can already tell. But trust me here! Place the left back leg on top of the right back leg, right sides together. Then, shift it over 3/8" (measure it to be accurate!), and pin it in place. Stretch the top piece every-so-slighly so the crotch point still lines up at the inseam. This offset is to give the illusion of a centered back seam. (Otherwise, the topstitching will make your pockets look uneven!)
Aaaaand here's what you'll end up with. But don't fret! Once you sew those two lines of topstitching, everything will look as if it's lined up perfectly. Magic, huh?
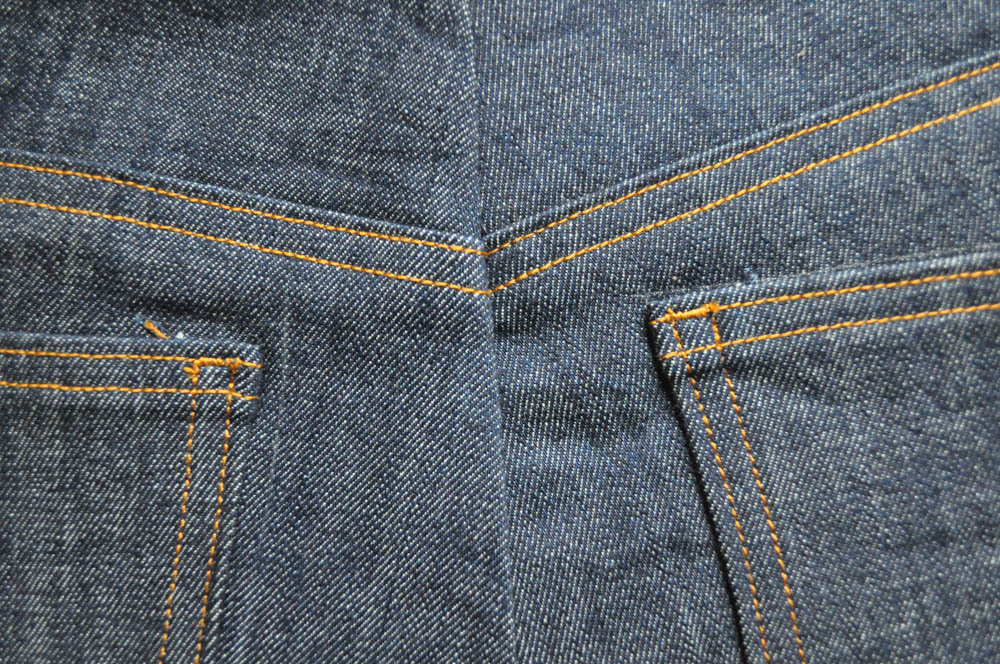
What did I tell you?!
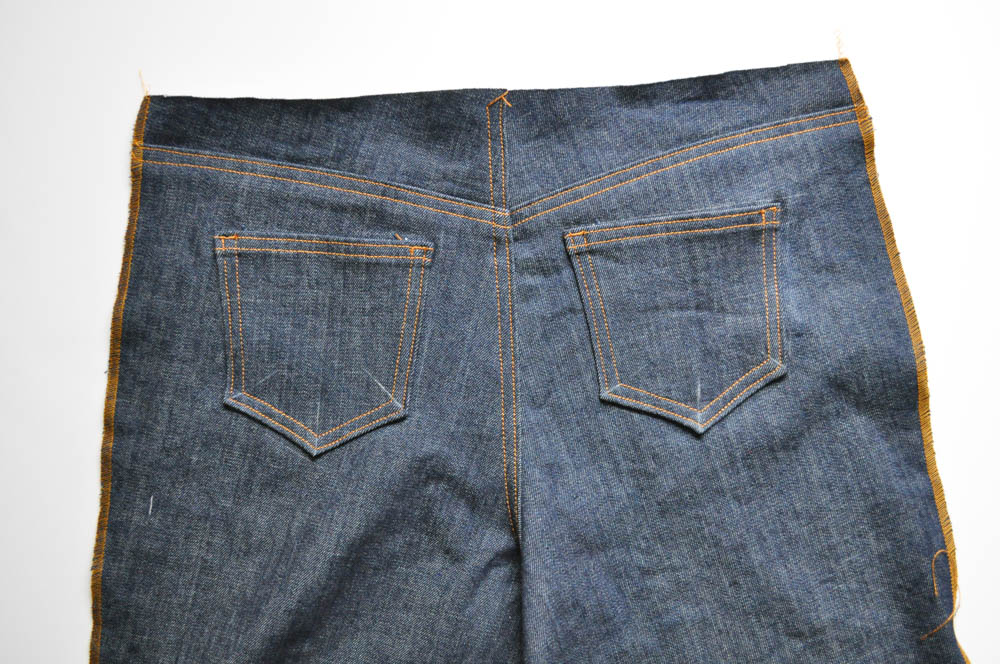
And the back side of your jeans is complete! I usually do the steps up until now in one night and put everything away for a break at this point. Go have a glass of wine, and binge on some Netflix (or catch up on The Bachelor). You deserve it.